
A house is an investment and with any investment you have to plan on maintaining it. But a house also needs repairs not just maintenance. We finished our master bedroom addition about 10 years ago with the plan to spend no more money on it. Of course we were wrong. In September, I stepped close to the shower to grab something on top of the shower wall and my foot went through the floor.
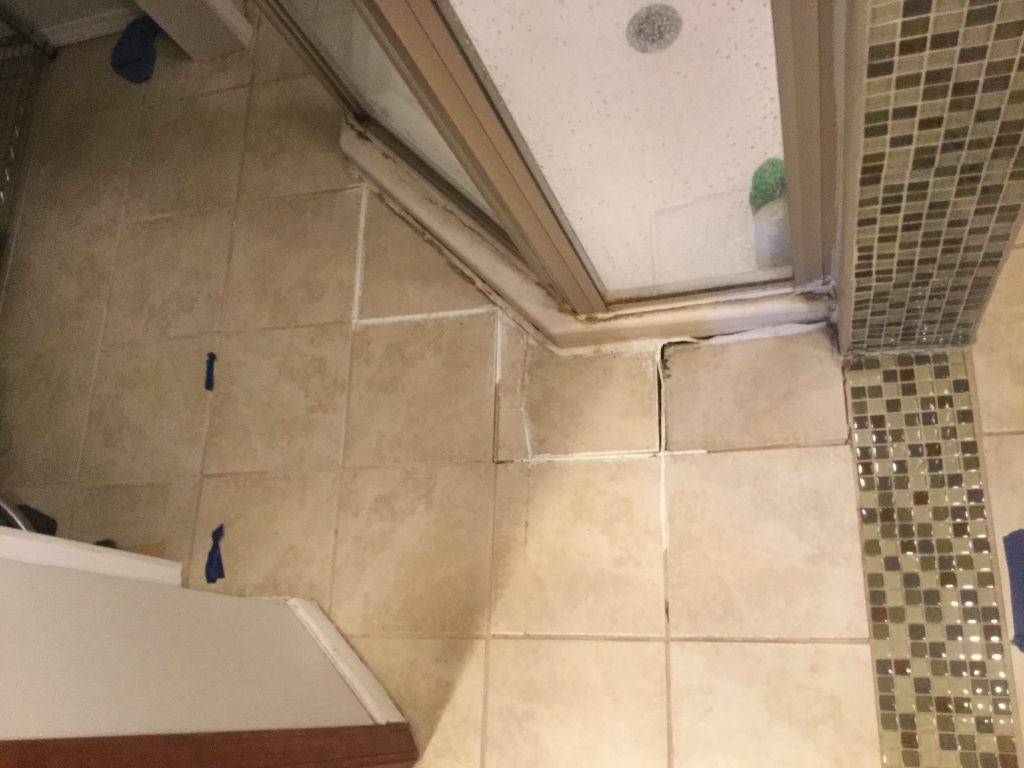
The detective work began. We needed to figure out first how much damage there was, second what was causing the damage and third how we were going to fix the damage.
The damage was much worse than we even thought
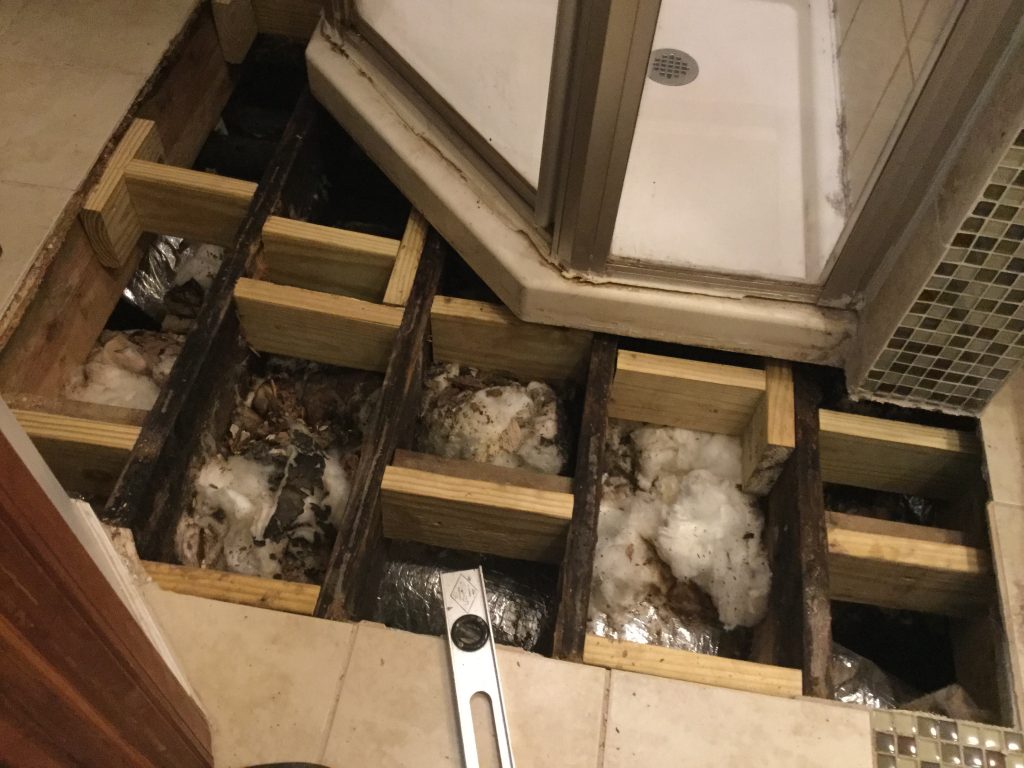
We needed to add additional supports to the floor in because we could not replace. 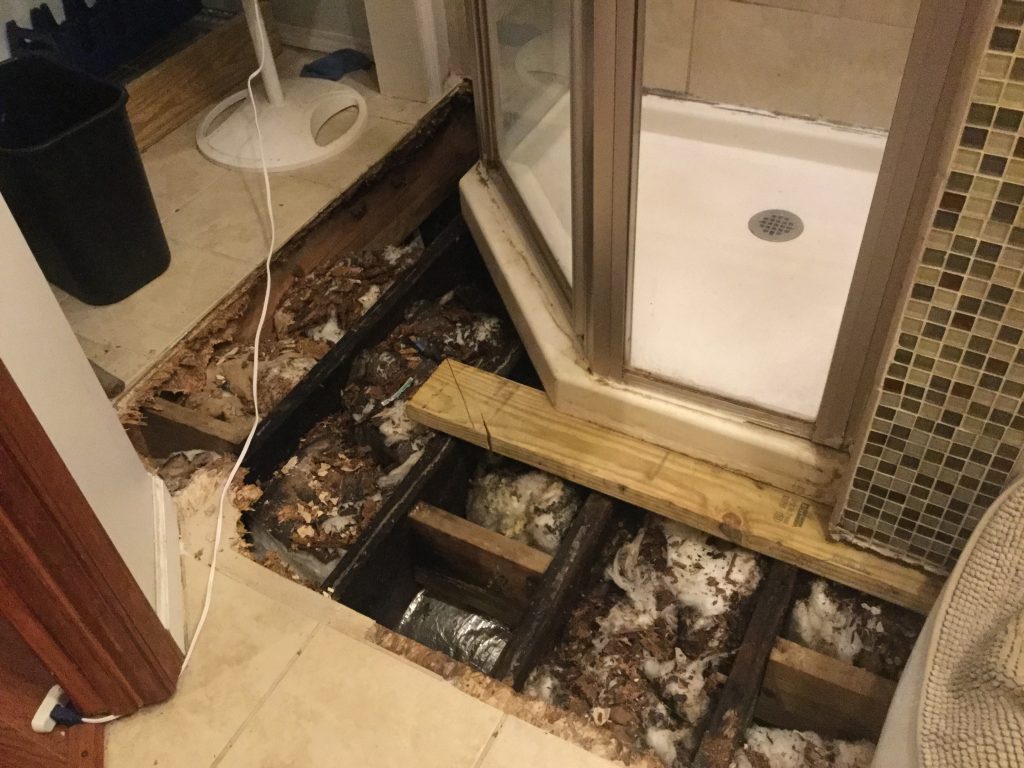
The floor and subfloor were rotten
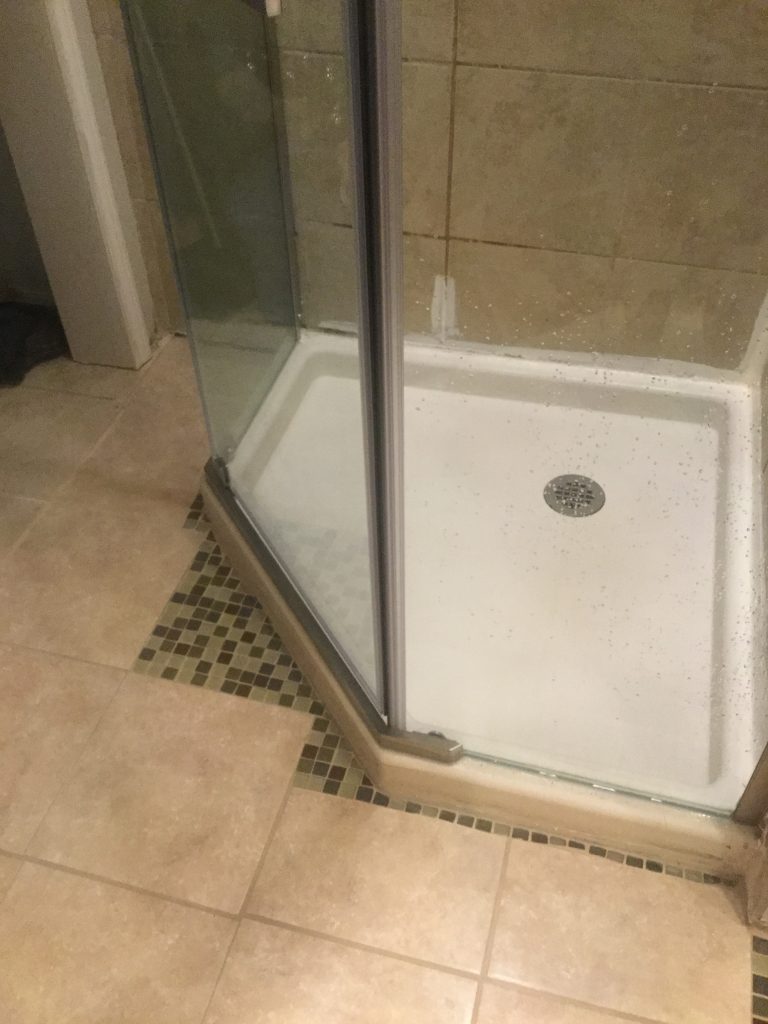
It actually took several months for us to figure out and completely repair the problem. We discovered that the shower surround itself was leaking. The only solution to this problem was to replace the entire shower surround. We decided to order the replacement from Home Depot for several reasons, first they would deliver to house and second we could stretch the payment to 6 months without interest. Unfortunately the cost of shipping was over $100. Total cost for the replacement shower surround $725.
Fortunately, we had saved excess material from the addition work. We even saved multiple pieces of the glass tile that we used as an accent in the shower room. We found large tile that matched closely to the original for $0.78 each. We also had saved the gout needed to match the original. We decided to rework the design of the floor and used the remaining glass tile. I actually like the look of the finished project much better than even the original. We also used gift card earned from Swagbucks in order to decrease our overall expense. We did have to purchase a tile saw and tile clippers. We plan to use these in the future to update the hall bathroom. Total out of pocket other than the surround $101.34! This is a huge win for us!
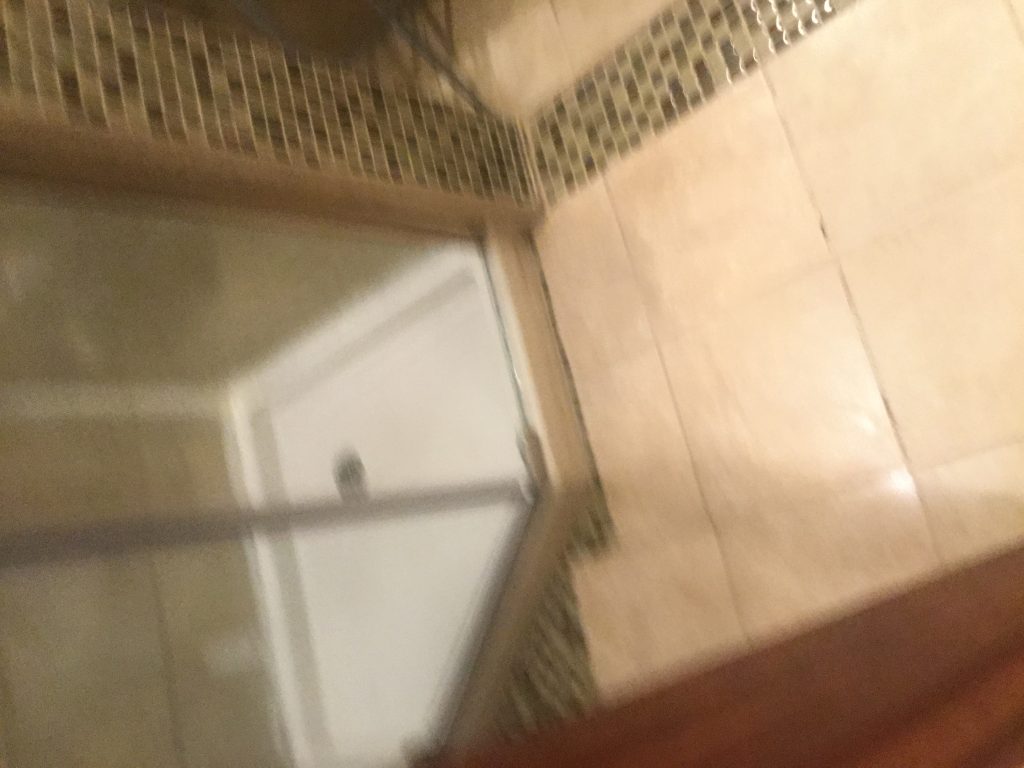

 Beginning frame work…


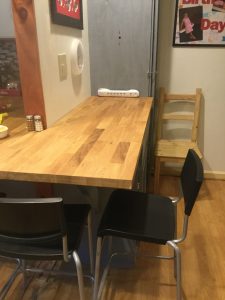
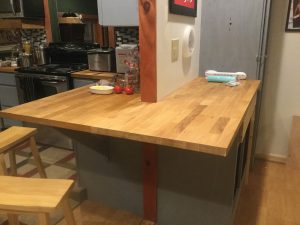 And my Favorite part….
 This could be considered a huge expense but in my opinion it was well worth the money. The company charged $350 and I came home to a perfectly level building and empty building.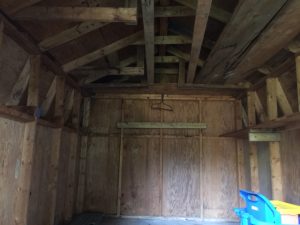
 The first “free” project was to build steps into the building. We used material from the deck steps that we just replaced. They are not pretty but very functional.
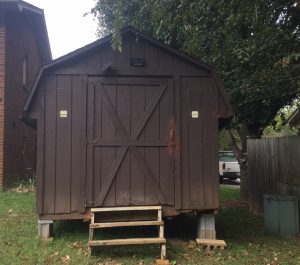 Next we used 2 old door hinges to cut two small opening in the front to allow for air to circulate in the building. Screen was again salvaged from cleaning of the building at my father’s. Inside the building we discovered several pieces of lumber that had been placed up high for storage. There was also an old rake handle and a multiple nails and screws. We did end up purchasing a fast track storage system at Lowe’s using gift cards from Swagbucks.
 The candy canes are hanging on an old broom handle that we found after the shed arrived to my house. My father used it to hold the door open with. The chairs above the candy canes are on the rake head that was previously used to hold shovels.
 Beach umbrellas, pool noodles and surf boards are placed on shelves that were already in place in the building.
 The caddy in the corner was purchased at Aldi for $4.99 and everything on the back wall is connected to hang from nails and screws that were already in place when the building arrived.
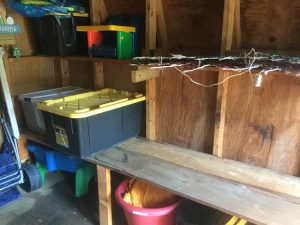
 Yesterday, we used the wood found in the building to add this 10 foot very sturdy shelf with storage above and below the shelf. The top shelf was already in place when the shed arrived and had been installed by my father for storage.

 Total spent on my new “she shed” including cost of moving is less than $400. I have gained a TON of storage and organizing space! Can you tell how excited I am to finally show off the results?